Creating an IFTTT applet for the Wi-Time programmable thermostat
In all likelihood, if you have read up to this point, you are already familiar with IFTTT. Just in case, we will proceed with a short presentation of the service and then immediately move on to the practical part!
What is IFTTT?
IFTTT stands for If This Then That, being if ‘this’ happens, then ‘that’ is done. This allows you to programme automatic actions based on events, to have them dialogue with smart devices and smartphones in a few simple steps, integrating the features made available by both.
Does that sound complicated? Have faith! It is actually quite simple, so let’s look at how this happens in practice.
If the temperature exceeds X then…
Let’s see together how to exploit the potential of IFTTT by equipping our Wi-Time programmable thermostat with new features. In this tutorial, we will set up an IFTTT applet that records the event on a Google Sheet, whenever the temperature in the house rises above a certain threshold.
So, let’s proceed with the steps.
We shall start with building the applet
The first step is to go to the IFTTT service that allows you to create an applet: https://ifttt.com/create
Of course, if you do not have an IFTTT account, you will be asked to create one. Don’t worry, it’s completely free!
At this point, click on + to start the set-up wizard (see the image below)

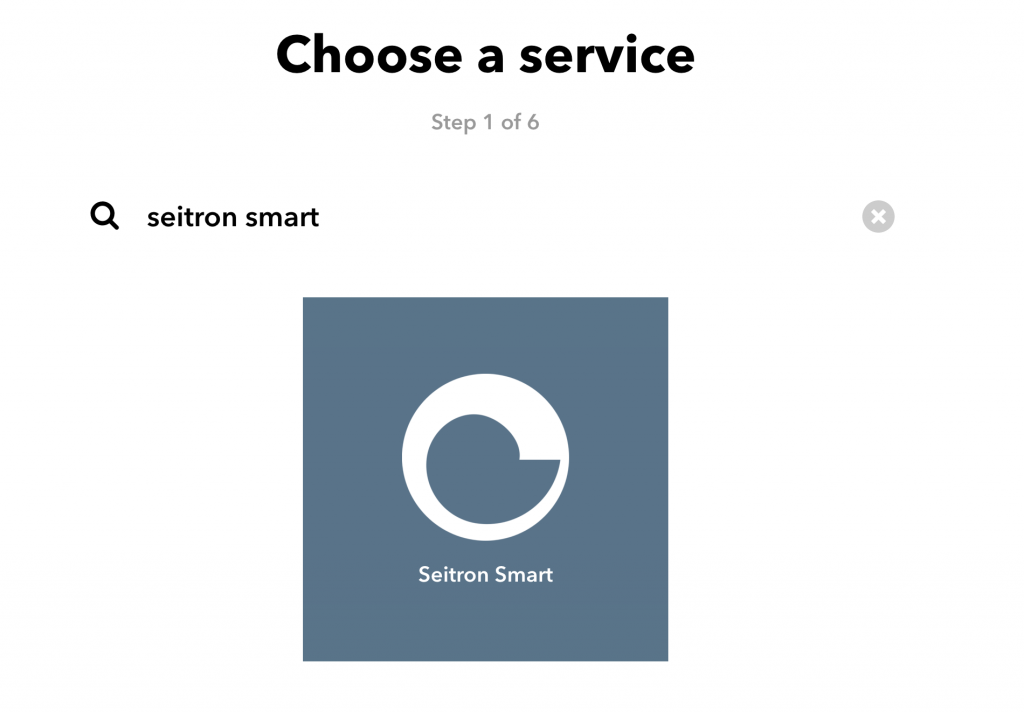
1. Select a service
Search for “Seitron Smart” then click on Connect. You will be prompted for the username and password used in the Seitron app for Wi-Time management.
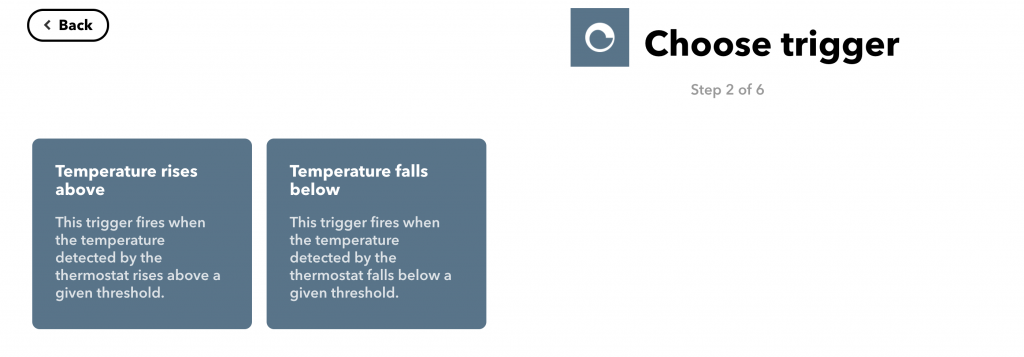
2. Choose a trigger
A trigger is the event that prompts the action. Keep in mind that the purpose is to record the event on a Google Sheet, whenever the temperature exceeds a certain threshold. The trigger to choose is thus “Temperature Rises Above”. At this point, you will be asked to insert the temperature that triggers the event, the name of the Wi-Time and the unit of measurement.
We have set the first part - the IF THIS - and now you will see a screen like the one below. Click on + and proceed with the THEN THAT.

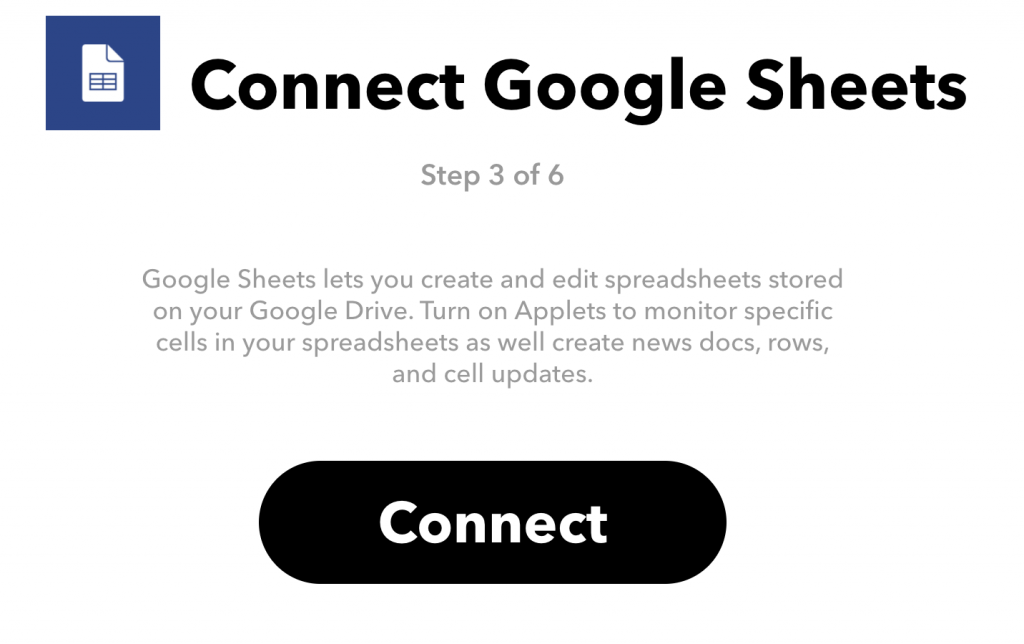
3. What do we do?
From here, the procedure should be rather intuitive. We must choose the service to be activated in the event that the temperature exceeds the threshold. In our case, we want to record the temperature on a Google Sheet, hence we proceed by choosing Google Sheet and connecting it to our applet.
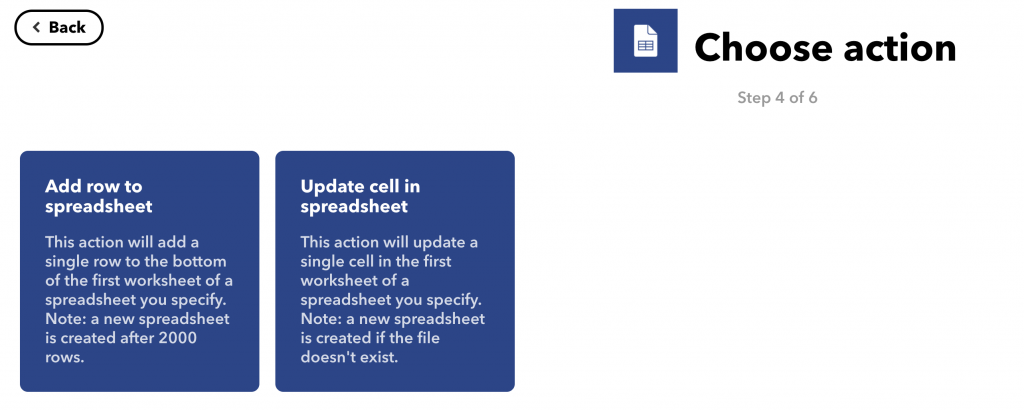
4. Choosing the Google service
What we want to do is record the data sent by Wi-Time every time there the temperature is exceeded, so proceed by choosing “Add Row to Spreadsheet”.
5. Enter the required data
We will be prompted to provide some data, such as the name of the Sheet and the Google Drive folder where it is to be saved. If we are okay with those set by default, they can be left as they are.
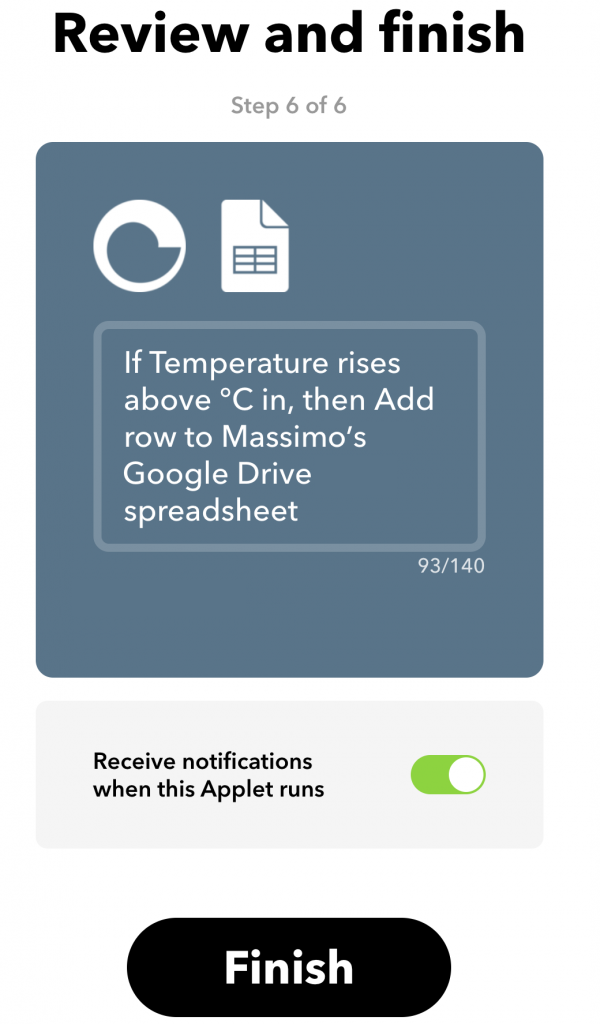
6. That’s it!
If everything went well, the screen should be like the one below. Confirm and you’re done! Now every time the temperature exceeds 28° C, the event will be recorded on a Google Sheet.